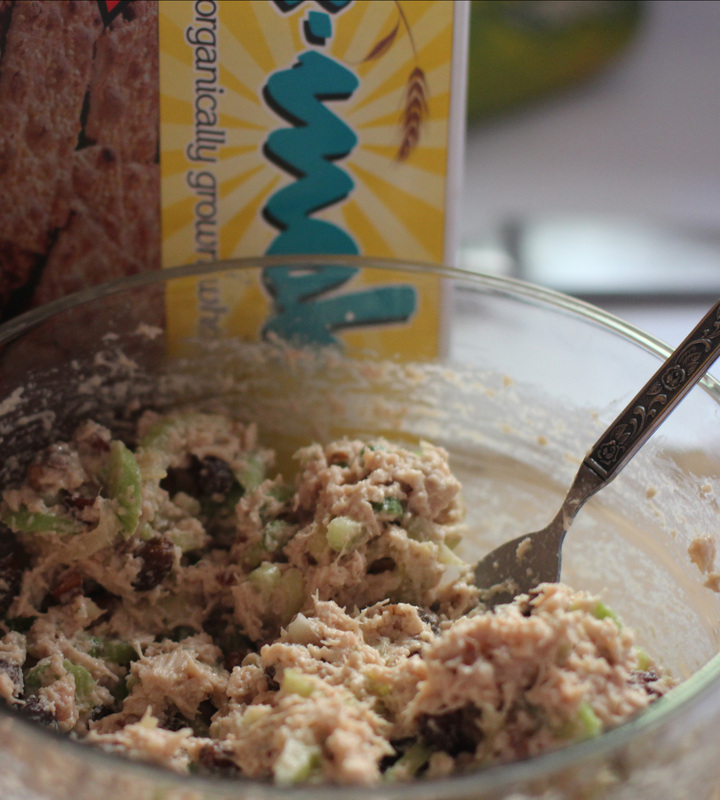
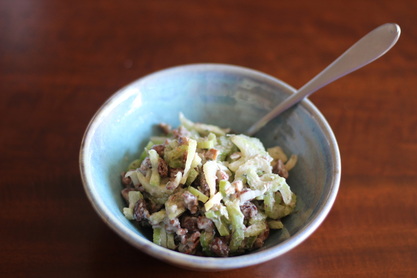
We are going to the San Francisco Zoo this morning, so last night I made my super quick and easy chicken salad. I'll admit, I did not invent the recipe. It is based on one David often made for picnic lunches before we were married. But, in all fairness, I make it way better than he does. I like to put my chicken salad in sandwiches or scoop it up with crackers or just eat it by itself. If my husband remembered to get bread, we will be eating sandwiches at the zoo today. If not, I know I saw some crackers in the cupboard. Either way, it will be a delicious lunch for our zoo outing.
Chicken Salad Recipe:
Ingredients:
- One 12.5 ounce can chicken
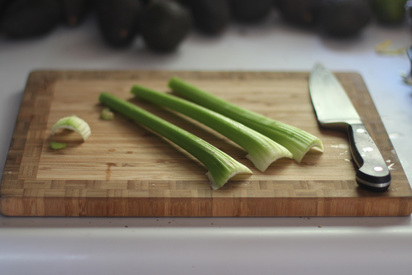
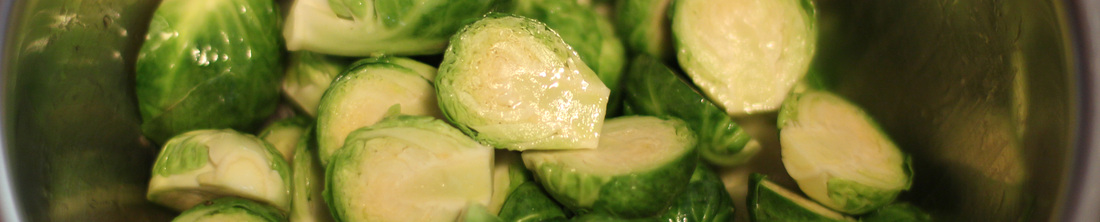
- Two ribs celery, sliced
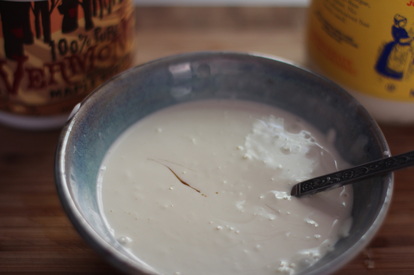
- Two or three large spoonfuls mayonnaise
- Squirt of mustard (optional)
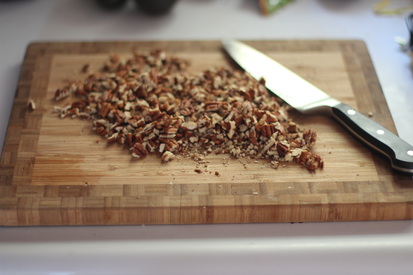
- 1/4 cup chopped pecans
- 1/4 cup raisins
- Salt and pepper to taste
Directions:
Ingredients:
- One 12.5 ounce can chicken
- Two ribs celery, sliced
- Two or three large spoonfuls mayonnaise
- Squirt of mustard (optional)
- 1/4 cup chopped pecans
- 1/4 cup raisins
- Salt and pepper to taste
Directions:
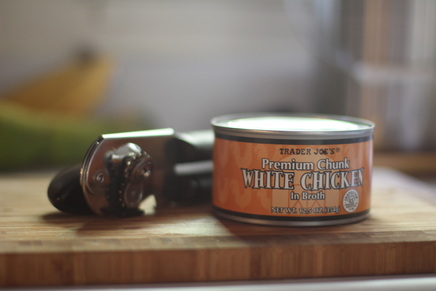
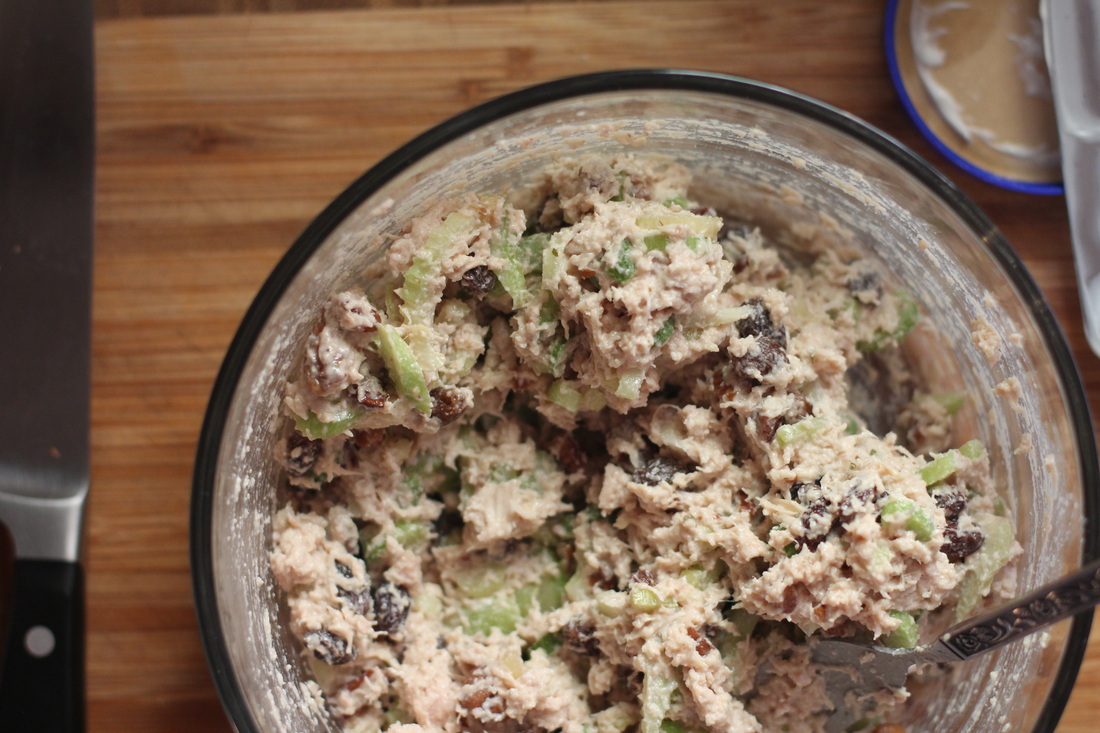
Open the can of chicken with an old-school can opener (yes, it will creates sharp, jagged edges, but it will make draining easier). With the lid still over the chicken, press down to squeeze all the liquid out. Dump the chicken into a bowl.
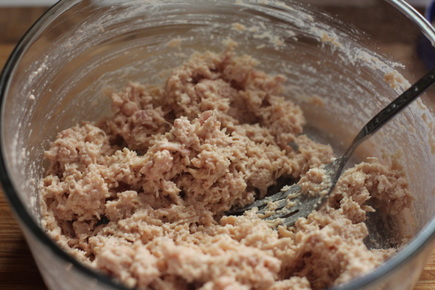
Add the mayonnaise, putting in enough so that the chicken sticks together plus a little (the raisins will absorb some of the moisture). Add a squirt of mustard. Mix it all together. Make sure that there are no chunks of chicken, If you find some, break them apart with a fork.
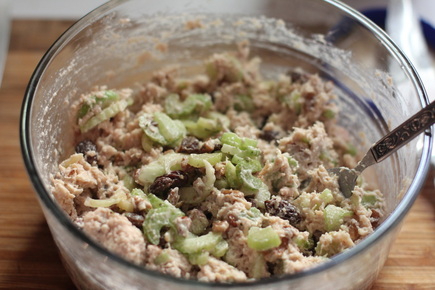
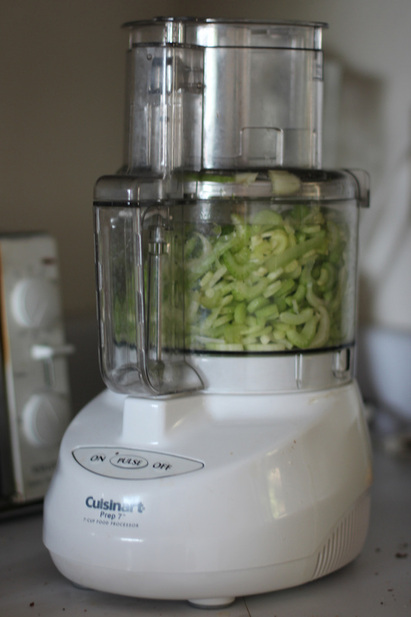
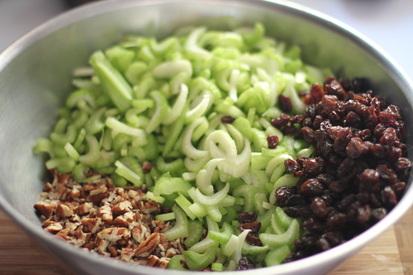
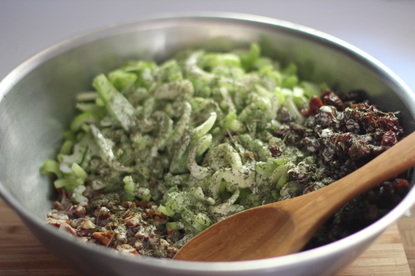
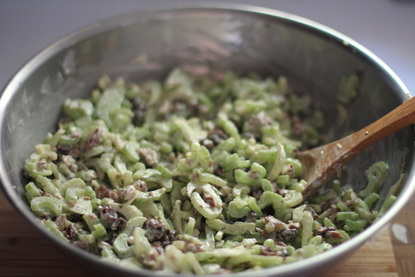
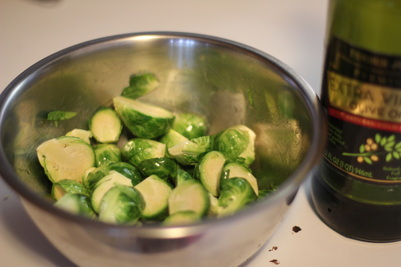
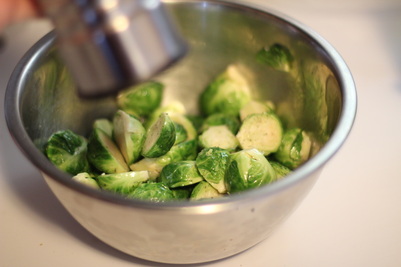
Slice the celery and chop the pecans. Add these, along with the raisins, to the chicken mixture. If, like me, you forgot to set aside a couple ribs of celery before making a large batch of celery nut salad, just use several scoops of that in place of the raisins, pecans, and celery.
I hope you enjoy this chicken salad recipe as much as I will today at the zoo. I know, I said "zoo" again. I'm just so excited! We bought a membership when we were there a month ago, but we didn't get to stay long that time. Plus, the flamingo chicks hatched about a week ago and I'm eager to see them in all their adorable fluffiness (or is it "fluffy adorableness"?). Maybe they will even let me bring one home. I wonder if flamingos like chicken salad...